By Brent T. Wheat
Brent Wheat and FLIR, give us great tips on the best practices for thermal imaging targets.
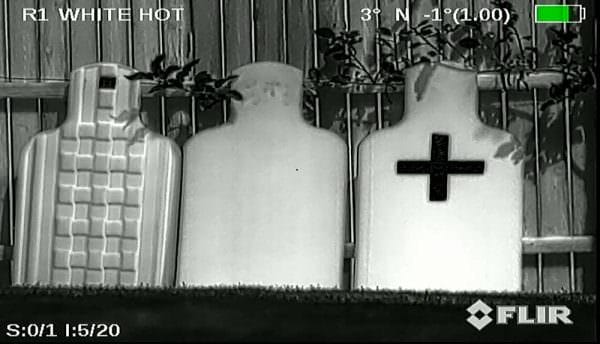
 U.S.A. –-(Ammoland.com)- The first thing you want to do after mounting your new thermal weapon sight is go out and sight in. Rush to the range with an armful of traditional paper targets, however, and you may be disappointed.
Because thermal imagers detect, amplify and display temperature differences instead of using light, target selection becomes a matter of hot and cold rather than paper or plastic. So, what works best?
Thermal Imaging Targets
The orthodox answer is “thermal imaging targets”. Ranging from standard bulls-eye targets to silhouettes of pigs, coyotes and other animals, these specially engineered paper targets work well. The downside is the cost; they are significantly more expensive than run-of-the-mill targets and are also somewhat difficult to find.
Fortunately, with a little ingenuity, forethought and some inexpensive materials, you can easily make practical and effective thermal imaging targets for thermal weapon sights that will get your weapon hitting every time, challenge your skills and move yourself down the path towards experiencing all the benefits that a thermal targeting system can provide.
Don’t Forget To Check
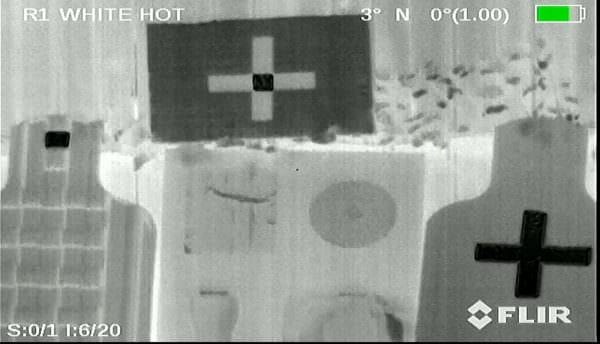
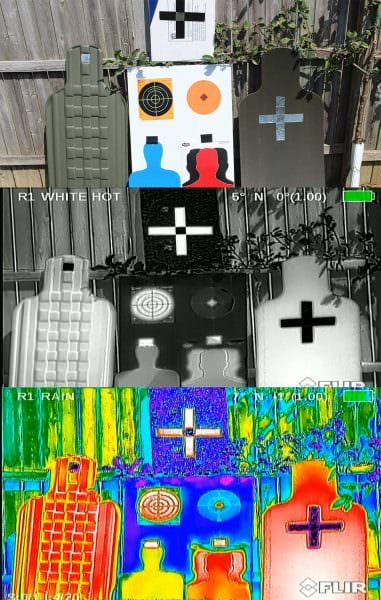
Before you go to any further, take stock of your existing inventory of traditional targets, as they just might work with your new thermal sight. Depending on the backer material and printing ink – and the capabilities of your particular scope – traditional paper or plastic targets sometimes show up nicely on the thermal display.
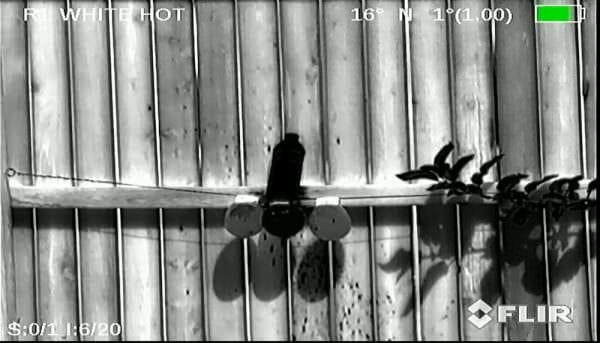
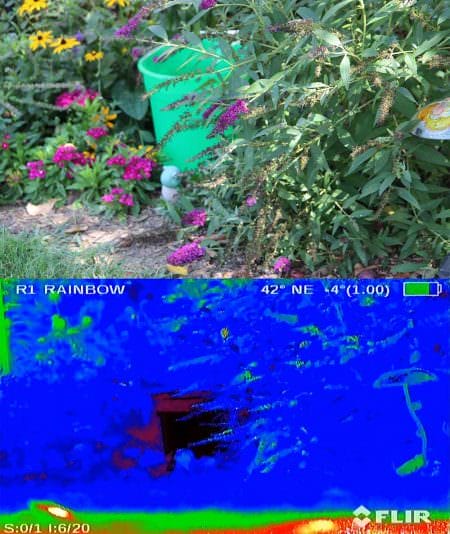
If not, try different imaging color palettes within the sight. For example, a target that isn’t clearly visible when using a “Rainbow” color scheme might appear to almost glow like a neon light when the palette is changed to “White Hot” or “Black Hot.”
If none of that works, it’s time to build some thermal imaging targets.
Rolling Your Own
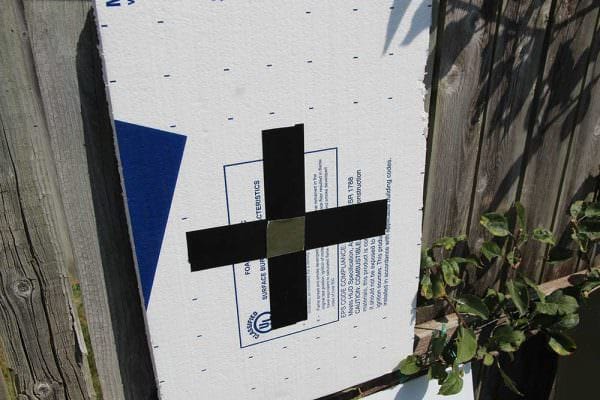
One of the best yet simplest thermal targets is foam insulation board. Available at most hardware and home improvement stores, it comes in a range of colors and thicknesses. Even cheaper is thrown-away packaging material. In our tests, a 1-inch thick foam board rescued from the trash performed very well.
The easiest thermal imaging targets to make is a simple cross-pattern of 2-inch wide black tape. The tape, having significantly different thermal properties than the foam board it’s placed upon, shows up quite nicely in the sight. You can use the central overlap as the point of aim or you can add another smaller piece of a different tape (with differing thermal properties) as the bull’s-eye.

Other Thermal Imaging Targets Material
Almost any solid target backer can be used if you have a thermally contrasting material to serve as the aiming point. In this regard, one of the handiest items to have on the range is the Aluminum Foil Self-Adhesive Tape commonly used to seal ductwork. Note that this isn’t common “Duct Tape”; rather, it is heavy aluminum foil backed with adhesive. It is inexpensive and widely available at most hardware or home-improvement stores.
When placed on any object, the tape reflects nearly all thermal energy so it appears significantly different than the target backer in the thermal imager. We used this to great effect as a simple yet exceptionally visible aim point on an olive-drab cardboard silhouette target. A small piece of the foil tape also proved very effective as a precision aiming point on a Plastic Military E-Type Silhouette Target.
Thermal Imaging Targets – Old Favorites
Chemical heat packs or Hand Warmers are often suggested as a good thermal target because they are cheap and widely available. They are, but keep in mind that during the hottest part of the day the packs may be near the ambient temperature and might not provide a good target. Fortunately, the hand warmers work perfectly at night or during cool weather. Another major downside is that they are only good for one or perhaps two shots before they are destroyed. Chemical Cold Packs work even better but are more expensive.
Water Balloons are useful if they are at a different temperature than their surroundings. Hot water from the sink – or, alternately, storing the balloons overnight in the refrigerator or a few hours on ice – will do the trick. If suspended from a string, the balloons can also present a challenging moving, reactive target. Cold bottles of water and even plastic sandwich bags filled with water or ice can also be used.
More Ideas
Sock Beanbags: An easy, cheap day or night target that will usually withstand several shots is an old sock filled with dry rice or beans and heated in a microwave oven for 30 seconds.
Steel Targets: Most ranges have some type of steel target and if the steel is at a different temperature than the background clutter, you’re in business. You can use a small butane torch to gently warm the metal. During cooler weather, steel targets stored overnight in a heated building or garage work just fine. In any event, make sure you are not altering the steel’s heat treatment by heating it too much; “warm to the touch” is plenty hot enough to see a difference in thermal sights.
About FLIR Systems
FLIR Systems, Inc. is a world leader in the design, manufacture, and marketing of sensor systems that enhance perception and awareness. FLIR’s advanced systems and components are used for a wide variety of thermal imaging, situational awareness, and security applications, including airborne and ground-based surveillance, condition monitoring, navigation, recreation, research and development, manufacturing process control, search and rescue, drug interdiction, transportation safety, border and maritime patrol, environmental monitoring, and chemical, biological, radiological, nuclear, and explosives (CBRNE) threat detection. For more information, visit FLIR’s web site at www.FLIR.com.
